
Table of Contents
Table of Contents
Introduction
You know that moment when you’re craving something warm and comforting, but you can’t be bothered with hours of kneading and waiting? That’s just how I came into Mary Berry’s cheese scones.
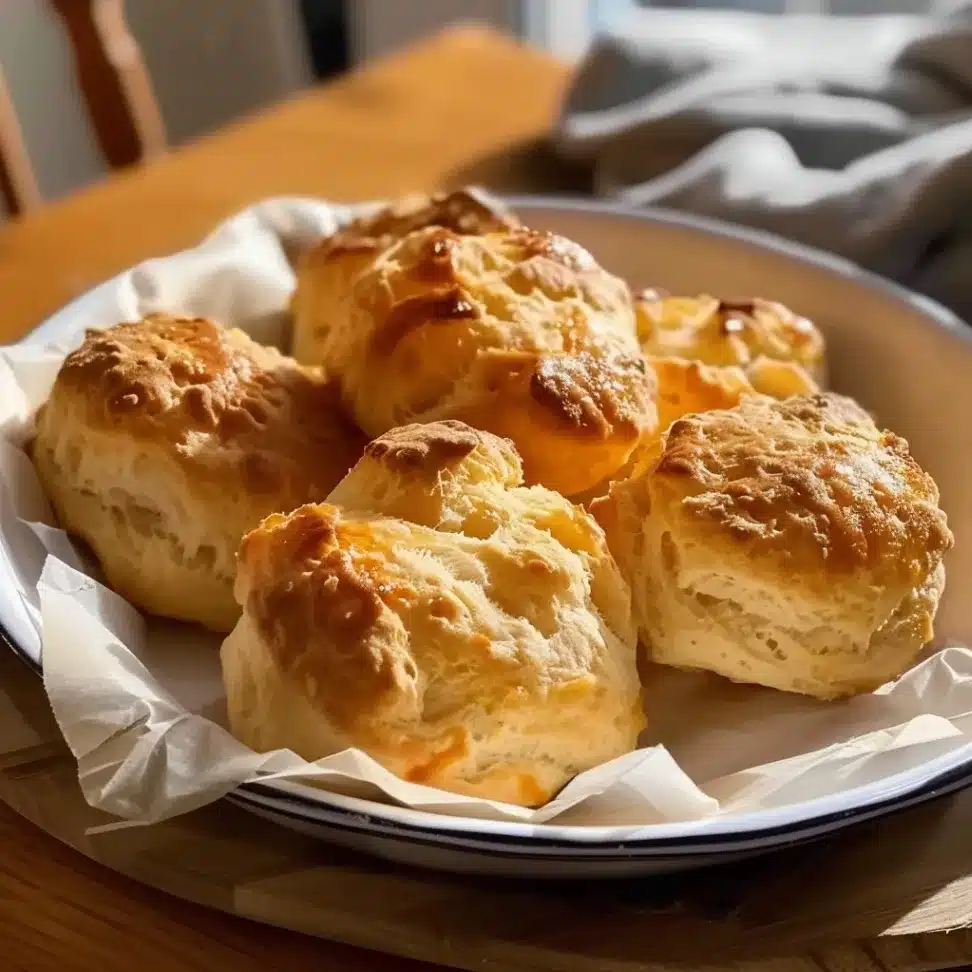
My neighbor Janet brought some over last winter when I was feeling rough with a cold, and honestly, I nearly cried taking that first bite. They were everything I didn’t know I needed – fluffy, cheesy, and with this gorgeous golden top that cracked perfectly when you broke them open. I pestered her for the recipe until she finally scribbled it down on the back of an envelope.

Now I make them every other weekend, and my kitchen always smells like a proper British bakery. These aren’t fancy or complicated, just proper good food that makes you feel like everything’s going to be alright.
Print
Cheese Scones by Mary Berry
- Total Time: 30 minutes
- Yield: 8–10 scones 1x
- Diet: Vegetarian
Description
Perfect for a quick savoury bake, these cheese scones by Mary Berry are light, cheesy, and irresistibly moreish. Ideal for picnics, teatime, or just because.
Ingredients
225g (1¾ cups) self-raising flour
1 tsp baking powder
½ tsp salt
40g (3 tbsp) cold butter, diced
75g (¾ cup) mature cheddar, grated (plus extra for topping)
150ml (⅔ cup) whole milk
1 egg, beaten (reserve some for brushing)
Instructions
1. Preheat oven to 220°C/200°C fan (425°F). Line and lightly flour a baking tray.
2. Sift the flour, baking powder, and salt into a mixing bowl.
3. Rub in the cold diced butter using your fingertips until the mixture looks like breadcrumbs.
4. Stir in most of the grated cheese, keeping a little for topping.
5. Make a well in the centre, then add most of the milk and beaten egg (reserving a bit of each). Mix gently with a knife until a soft, sticky dough forms.
6. Turn the dough onto a floured surface and gently pat to 2cm thickness. Cut into rounds with a cutter—avoid twisting!
7. Place rounds close together on the prepared tray. Brush tops with the reserved egg and scatter remaining cheese.
8. Bake for 12–15 minutes until golden and well risen. Serve warm or cooled.
Notes
For extra flavour, try adding a pinch of mustard powder or a dash of Worcestershire sauce to the mix.
Best enjoyed fresh from the oven but can be frozen and reheated.
- Prep Time: 15 minutes
- Cook Time: 15 minutes
- Category: Snack
- Method: Baking
- Cuisine: British
Nutrition
- Serving Size: 1 scone
- Calories: 190
- Sugar: 1g
- Sodium: 280mg
- Fat: 9g
- Saturated Fat: 5g
- Unsaturated Fat: 3g
- Trans Fat: 0g
- Carbohydrates: 20g
- Fiber: 0.6g
- Protein: 6g
- Cholesterol: 40mg
Ingredients List for cheese scones by mary berry
Right, so here’s what you need for cheese scones by Mary Berry and honestly, you probably have most of this stuff already:
The Essentials:
- 225g self-raising flour (I buy the big bags now because I make these so often)
- 1 tsp baking powder
- Half a teaspoon of salt
- 40g butter, cold and chopped up small
- 75g mature cheddar, grated (plus extra because I’m greedy)
- 150ml milk – whole milk works best
- 1 egg, beaten (save a bit for the tops)
When Things Go Wrong: Sometimes you don’t have everything, and that’s fine! I’ve used Red Leicester when I ran out of cheddar, and they were brilliant. Semi-skimmed milk works too, though they’re not quite as rich. Once I accidentally used margarine instead of butter still tasty, just not as good. If you’re doing the gluten-free thing, my friend Sarah swears by that fancy flour blend from the health food shop.
My Little Extras: I usually chuck in a pinch of mustard powder because it makes the cheese taste more… cheesy? And sometimes I add chopped chives if I’ve got some dying in the fridge. Black pepper’s nice too.
Timing for the perfect cheese scones by mary berry
Here’s the brilliant thing about cheese scones by Mary Berry – they’re done before you’ve even properly started missing them. From deciding you want scones to pulling them out of the oven takes about 35 minutes, which is mental when you think about it.
How Long Everything Takes:
- Messing about with the mixing: 15 minutes
- In the oven: 12-15 minutes (depends on your oven)
- Trying not to burn your mouth: 5 minutes
- Total: Half an hour, maybe a bit more
I’ve timed myself loads of times because I’m weird like that, and once you get the hang of it, you can definitely do it faster. Perfect for when people drop by unexpectedly and you want to look like you’ve got your life together.
Step-by-Step Instructions for cheese scones by mary berry
Step 1: Getting Started
First thing – whack your oven on to 220°C (or 200°C if it’s a fan oven). Line a baking tray with that parchment paper stuff, and dust it with a bit of flour. I learned this the hard way after spending twenty minutes scraping stuck scones off the tray. Get everything out and measured up front because once you start, it goes quite fast.
Step 2: The Flour Bit
Chuck your flour, baking powder, and salt into a big bowl. Now, Mary Berry always bangs on about sifting, and I used to think it was just showing off, but she’s right. It makes them lighter somehow. Takes two seconds and definitely worth it.
Step 3: The Butter Dance
Add your cold butter bits to the flour. Now you rub it in with your fingertips – not your palms, they’re too warm. Keep going until it looks like breadcrumbs. This takes about 3-4 minutes, and your hands will get floury and buttery, which is quite satisfying actually. If your hands are naturally warm like mine, stick the bowl in the fridge for a few minutes.
Step 4: Cheese Time
Mix in most of your grated cheese, but save some for the top because that’s where the magic happens. Make sure it’s spread around evenly – you want cheese in every bite of these scones.
Step 5: Making It Come Together
Make a little well in the middle and pour in most of the milk and beaten egg. Keep a bit of each back – you might not need it all, and you definitely need some egg for brushing on top. Mix it with a knife, not your hands, until it just comes together. It should be a bit sticky but not wet.
Step 6: The Shaping Business
Turn it out onto a floured surface and pat it into a circle about 2cm thick. Don’t roll it – just pat it gently. Then cut straight down with a sharp knife or cutter. No twisting! I did this wrong for ages and wondered why my scones were lopsided.
Step 7: The Final Stretch
Pop them on your baking tray so they’re just touching each other – they help each other rise, apparently. Brush the tops with the leftover egg and sprinkle on the rest of the cheese. Put them in the oven for 12 to 15 minutes, or until they are beautiful and brown.
Serving suggestions of cheese scones by mary berry
The thing about cheese scones by Mary Berry is they’re good with basically everything. Here’s how I like them:
The Classics:
- Split them open while they’re still warm and butter them. Honestly, this is perfection
- If you’re feeling fancy, serve it with a spoonful of chutney.
- Alongside soup, they’re brilliant for dunking

Getting Creative: Sometimes I’ll stick a fried egg on top for breakfast, or use them instead of bread for a sandwich. They’re ace for picnics too because they don’t fall apart in your bag like regular sandwiches do.
Keeping Them Fresh: They’re best eaten the same day, but they’ll keep in a tin for a couple of days. If they go a bit stale, just warm them up in the oven for five minutes and they’re like new again.
You can also make things sweeter if you want to serve these delicious cheese scones alongside a Sticky Toffee Pudding or a Panna Cotta. That will get you many compliments from your guests.
Frequently asked questions about cheese scones by mary berry
Can I use plain flour instead of self-raising?
Absolutely! Add 4 tsp baking powder per 225g plain flour for similar results. Always sift them together to distribute evenly – your mixture will rise beautifully.
What’s the secret to avoiding tough scones?
Handle the dough like a delicate hug – overworking activates gluten. Stop mixing once it comes together, and never twist your cutter when shaping. A sharp press straight down keeps them tender.
My oven runs hot, how do I prevent burning?
Try increasing the baking time by two to three minutes and reducing the temperature by 10°C. Place your baking tray on the middle shelf, and peek through the window – they’re ready when tops blush golden, not mahogany.
Can I freeze the unbaked dough?
Yes! Freeze shaped scones on greaseproof paper-lined trays, then transfer to bags. Bake straight from frozen, adding 3-5 minutes to the timer. Perfect for surprise guests or rainy-day treats.
Why do my scones spread sideways?
The secret is chilled butter; if the dough feels warm, refrigerate it for 15 minutes before slicing. Cold fat creates steam pockets that lift upwards, not outwards. Also check your baking powder’s expiry date!
What’s the best way to reheat leftovers?
Revive day-old scones by spritzing with water and warming at 160°C for 5 minutes. Serve immediately – they’ll crisp up nicely without drying out. For extra indulgence, split and toast under the grill with a knob of butter.
Conclusion
Making cheese scones by Mary Berry has become one of my favorite weekend rituals. They’re quick, they make the house smell amazing, and they’re proper comfort food that works for any time of day. For more Mary Berry recipes stay tuned.